A Guide to the Perfect Charcuterie Board
There’s nothing more exciting than filling up on the perfect combination of sweet, salty, crunchy and creamy; all obtainable in one bite if stacked correctly. A charcuterie board is undeniably the most pleasing (both by looks and taste) appetizer for any occasion. Not to mention, there’s no rules, it’s more like a free for all. If you want more cheese, bring on the cheese, and if you hate berries, don’t even consider them. If it was up to me, I’d skip dinner and fill up on the appetizers every night If I could.
While there’s no absolute rules here’s a little template, guideline or whatever feels least strict.
The board: Now this is one of the more important steps. The board will be holding all the goods, so you have to make sure it’s sturdy. And for once in your life size and shape won’t matter. Square, rectangular or circle choose whichever feels most presentable. Cutting boards can also be used. Basically you just want a neutral solid background.
Meat: Charcuterie refers to a selection of meats placed together. So if you choose to steer clear of meat, that's okay, you’ll just have to call it a cheese board or something. For a plant-based substitute consider adding a faux meat like Tofurky deli slices or just skip out on this step completely. Start out with simple fan favorites: pepperoni, salami or prosciutto. If you’re feeling adventurous add in Jamón or Bresaola. You’ll only need two to three types of meat (add or subtract based on size of board. If the meat is pre-sliced leave as is and place to the side. If it’s a cured sausage or pepperoni that has yet to be cut, cut the meat into thin, consistent slices.
Cheese: Here’s where you’ll have a bit more freedom. Gather around two to three different types of cheese. At least one soft cheese to act as a spreadable (Brie is personal favorite) and the other two hard. I typically resort to a mild Cheddar, spicy Pepper Jack, or Ricotta Salata (aka the Italian feta). When preparing the cheese you can choose from an array of methods. The most common is squares, but don’t shy from thin slices, or even cutting half and leaving the other half as a block. For a plant-based version include dairy free options like nut-based cheese.
Crackers: It would be cheese and crackers without the crackers. The cracker, sometimes underrated, is the vehicle for the cheese, spreads, and meats. Without it, the whole process of consuming would be a bit ridiculous. Choose one to two cracker-like products. If you’re feeling extra, go for a baguette but make sure you have the space for it. I tend to go for a selection from Trader Joe’s. The beet or sweet potato crackers are always a hit and add a bit of color. If not them then a multigrain, crisp, pitta or bread sticks.
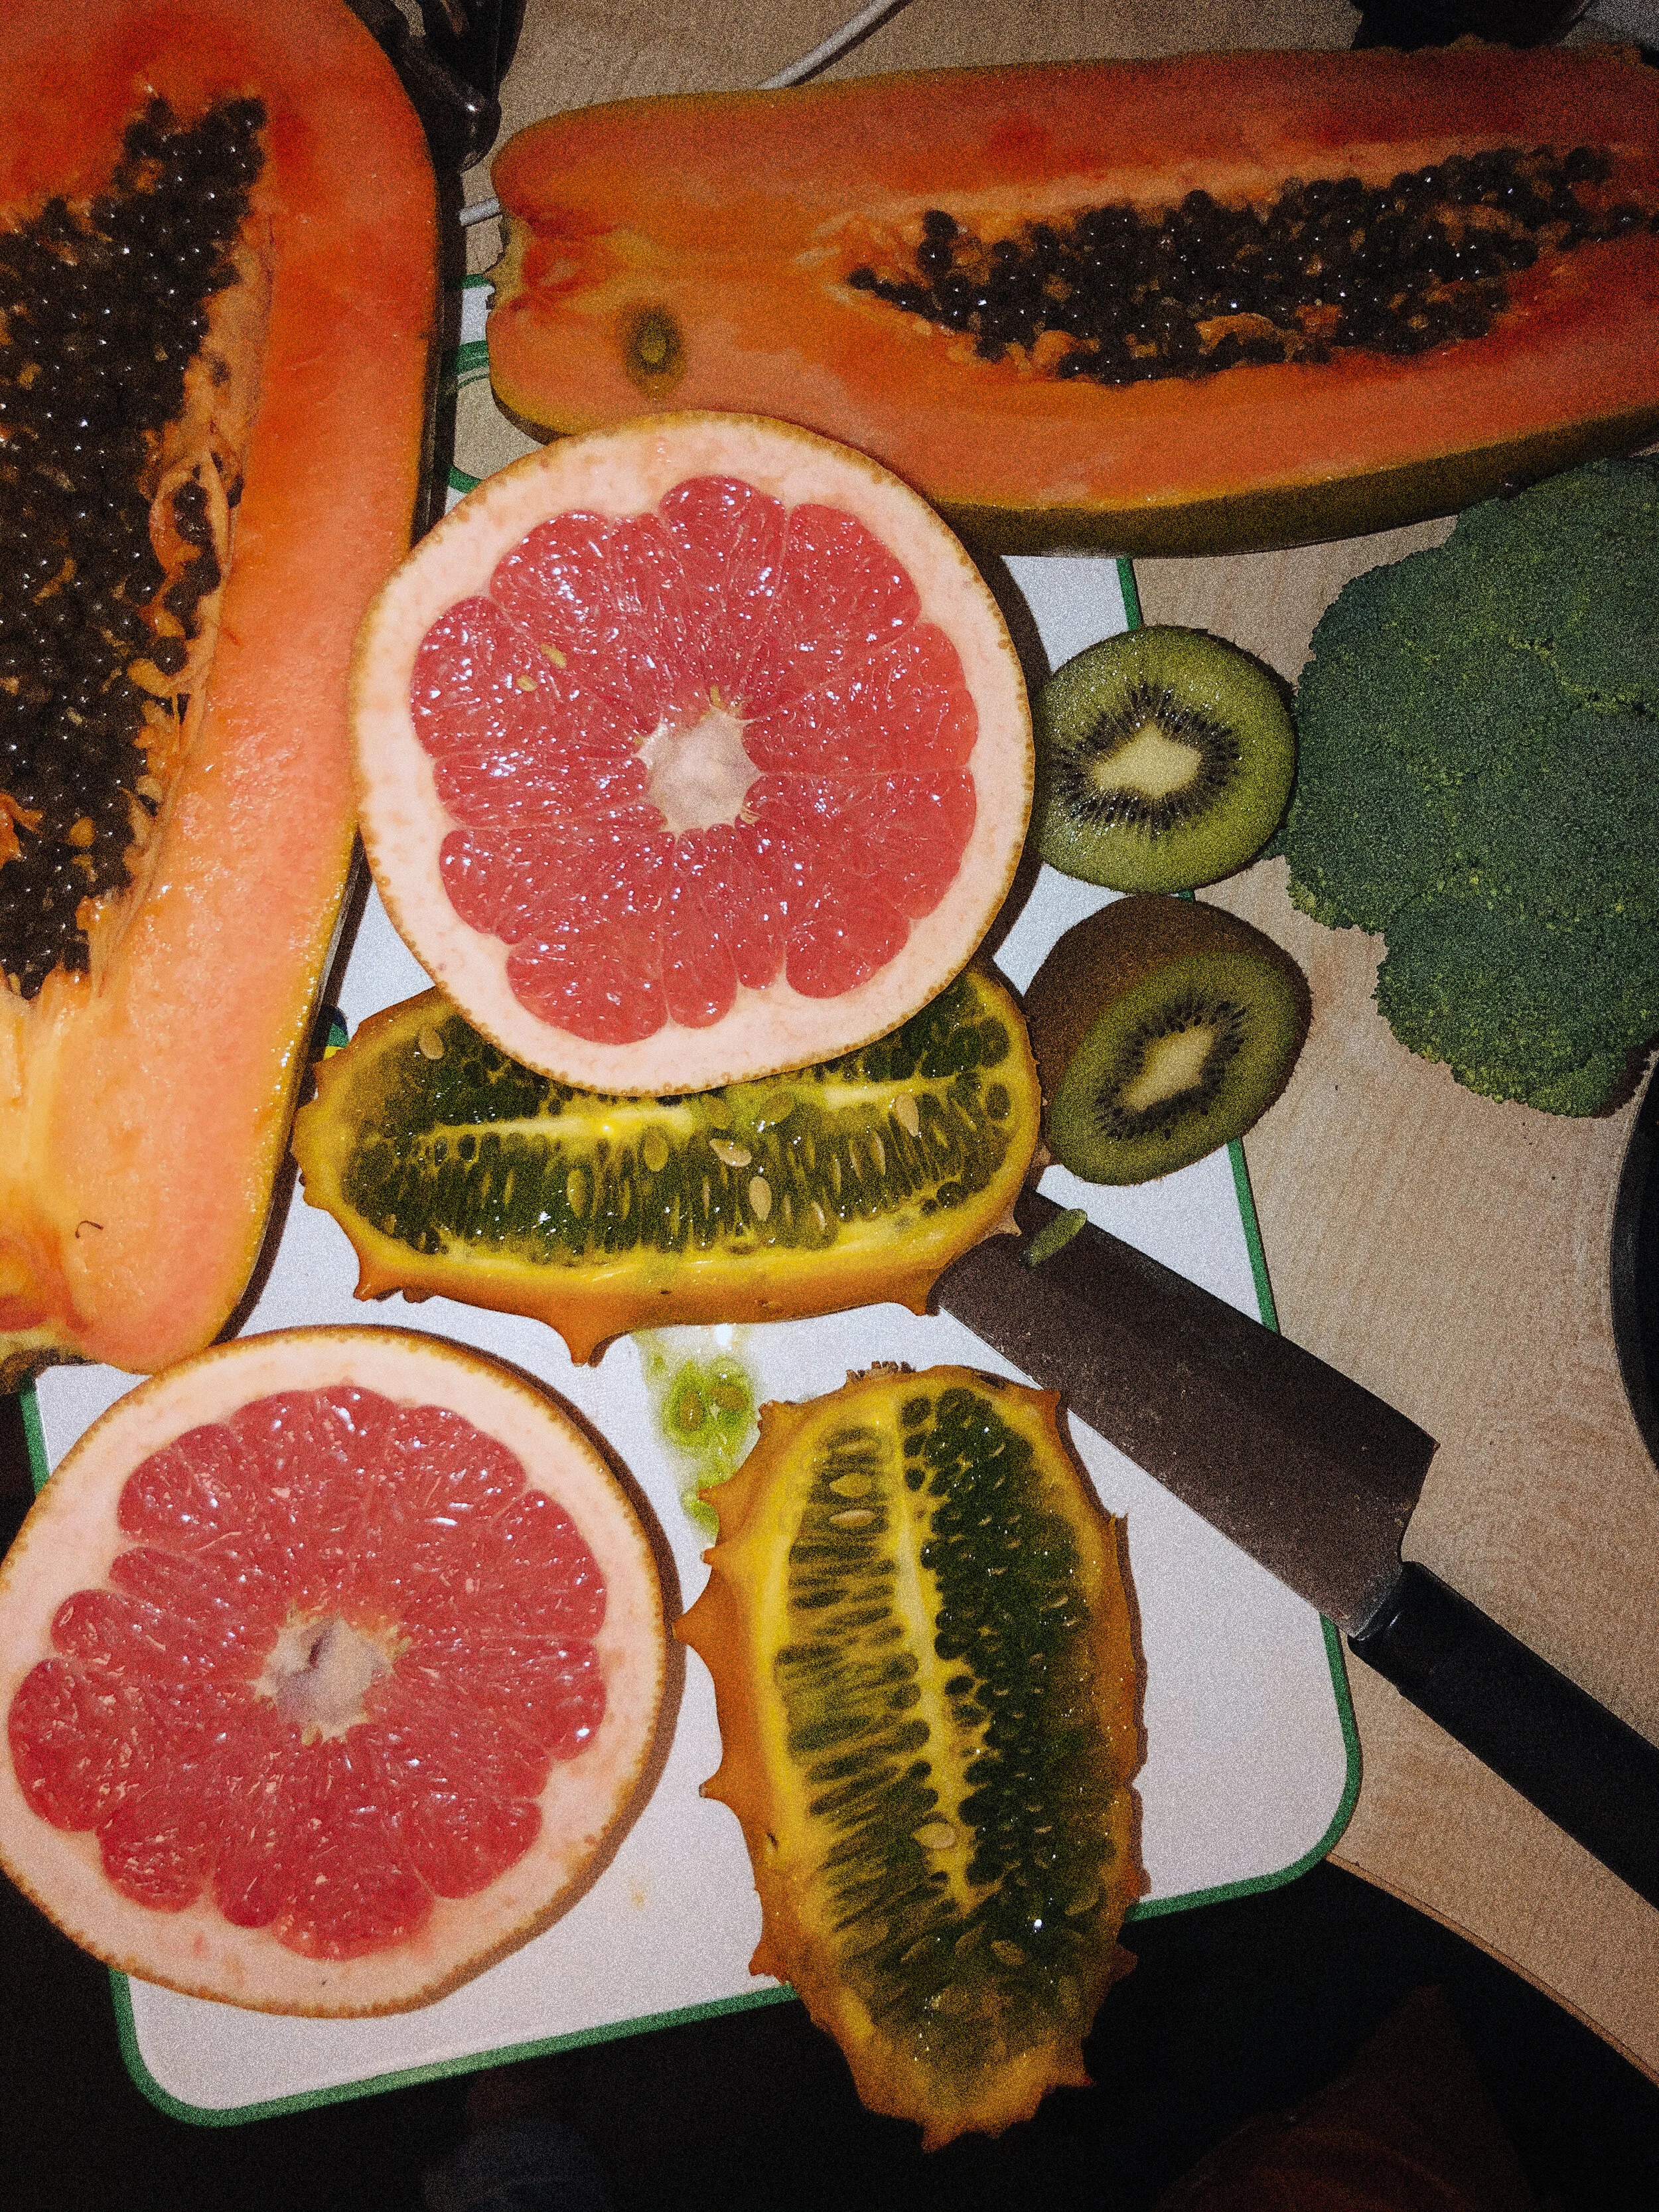
Fruit and nuts: Adding in the fruit is the most exciting part in my opinion. Now’s a chance to add in some color. If you’re planning on only including one fruit, (that would be silly) definitely bring in a bushel of grapes. I always have a few berries (strawberries, blueberries, raspberries or blackberries), olives, pears and citrus. The berries and olives are left as is, while the pear and citrus of choice can be sliced into thin portions. Have a handful of at least one type of nut, anything from almonds, cashews, walnuts, pecans, shelled pistachios or hazelnuts. Then add in a type of dried fruit like figs, or apricots to compliment the nuts.
Spreads: A spread or two isn’t necessary but definitely adds the cherry on top. I love a fig spread to go along with the brie. Any type of jam, honey, golden syrup or cream is perfect for a drizzle on top. If you choose to include vegetables, you can add a dip like hummus or ranch.
Extras: While you’ve definitely have more than enough already, it never hurts to add a few more decorations. Don’t shy from herbs like a stem of rosemary, or a small flower like lavender. A handful of chocolates or vegetables (peppers, or carrots are easy to cut up) or sun-dried tomatoes.
Once you have all your ingredients ready and prepped, you can begin the placing process. An empty board can feel daunting at first, but once it all gets going it becomes a breeze. For messier or unconfined ingredients like spreads, or olives you can leave them in their jar or place a small bowl on the board. Place the cups/bowls first and use them as a guide for the rest of it all. The meat, cheese and crackers can be stacked and spread to create a domino look, while most of the others can be tossed in handfuls. Fill in any extra space with nuts or herbs. Don’t forget to place necessary utensils like a cheese knife, spoon, or a honey dipper.
Once it’s all done, serve at room temp with a glass of wine and enjoy.


